
Introduction
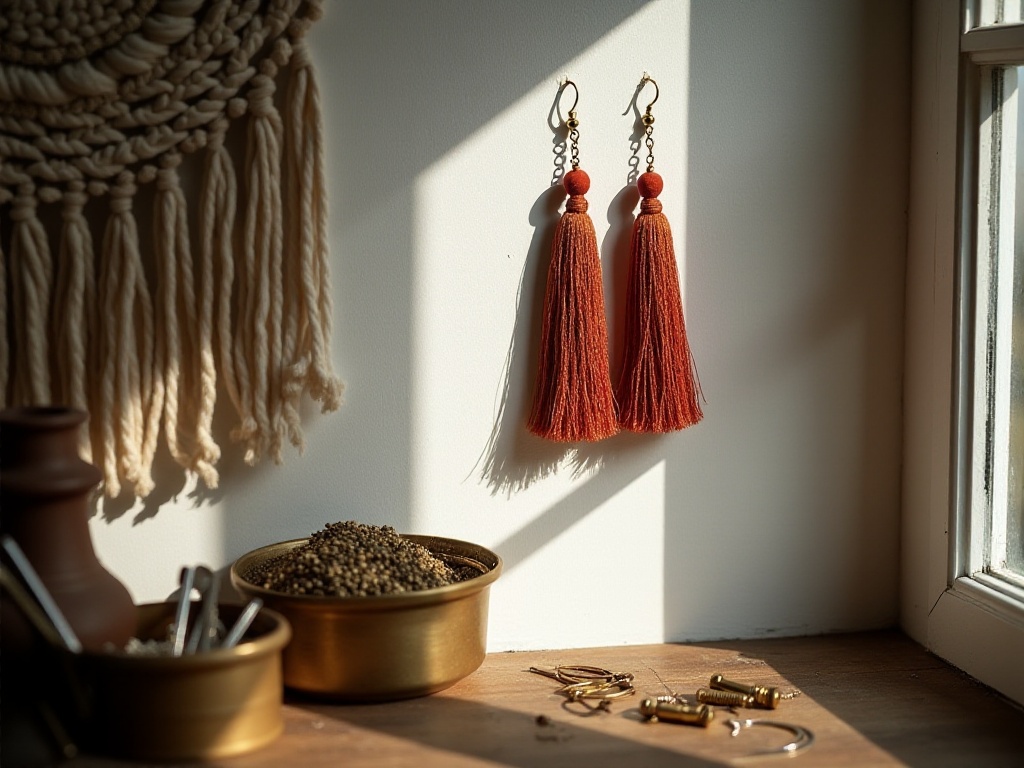
I've recently become obsessed with making handmade jewelry! Every time I visit the mall and see those delicate tassel earrings priced at $100-200, it breaks my heart as someone who just started working. But sisters, did you know you can make beautiful tassel earrings at home? I've developed a money-saving and fun DIY method that only takes five minutes. Every time I wear my handmade earrings out, I receive so many compliments from girls asking where I bought them. Seeing their envious looks makes me secretly happy!
Materials Needed
To start your tassel earring DIY journey, you'll first need to prepare materials. I found many high-quality yet affordable shops on Taobao, and buying all materials only cost around $20-30. You'll need silk tassels (this is crucial - quality must be good for that flowing effect), gold end caps (silver works too, depending on what jewelry color you usually wear), earring hooks (buy extra as you'll likely get addicted to making many pairs), and small pliers.
Regarding tassel selection, I really need to share my experience. I made a mistake with my first purchase, buying the cheapest ones, which had poor texture and tangled easily. Later, I found a shop specializing in real silk tassels. Though slightly more expensive, the quality is completely different. Silk tassels not only feel great but have a natural shine, looking absolutely beautiful when they sway as you walk!
For end caps, I suggest buying several styles. Some are plain round, some have patterns, and others have hollow designs. Different end caps can make your earrings look completely different. I now have at least a dozen pairs of tassel earrings in my jewelry box, all created using different end cap combinations.

Making Process
Now for the main event! The process is incredibly simple - I was amazed the first time I made them. First, take out the tassel and carefully check that each thread is intact. Then gently straighten the tassel with your fingers - this step is crucial as it directly affects the final result.
Hold the top of the tassel, ensuring all threads are neatly gathered together. You'll notice the scattered tassel suddenly takes shape, looking just like store-bought ones. Then place the gold end cap on the tassel top - be gentle here to avoid breaking threads.
The next crucial step is using small pliers to gently crimp the end cap. Use moderate force - too light and it might fall off, too heavy and the cap might deform. I usually crimp lightly first, then rotate and crimp again to ensure even pressure all around.
The final step is threading the earring hook through the end cap's hole. Make sure the hook is securely attached - you don't want it falling off while wearing it. I once didn't pay attention to this step and lost an earring at a restaurant during a date, taking forever to find it.
Styling Suggestions
When it comes to styling, there's so much to consider! Different occasions need different combinations. Here are my tips:
Black tassels are perfect for work, especially in shorter lengths, looking super professional with formal wear. I wore a pair of black tassel earrings I made to an interview, and the interviewer even asked where I bought them!
Red tassels are perfect for dates or weddings. I made a chin-length pair in bright red that looks stunning with red lipstick. When I was a bridesmaid at my friend's wedding, the photographer took several close-up shots of them.
Cream white is my favorite - it goes with everything. It looks gentle for work and not too flashy for weekend shopping. I recently made a pair with pearls, and the result is amazing!
The mint green tassel was my biggest surprise. This color is perfect for summer! Paired with a floral dress, it instantly adds freshness to the overall look. Plus, this color unexpectedly makes your skin look fair - after sharing the tutorial, all my friends rushed to buy mint green tassels.
Advanced Techniques
After mastering the basics, I started experimenting with new styles. First was varying lengths - I discovered the same color tassel can create completely different effects at different lengths. My shortest ones extend just below the earlobe, while the longest reach the shoulders.
Then I tried dual-color combinations, which opened up a whole new world! My proudest creation is a black and gold pair - the black tassels slightly longer than the gold ones, intertwining and swaying with movement, creating an amazing effect!
Recently, I've started adding small accessories to the tassels. I bought some beads from Taobao - crystal, agate, and some metal pieces. Incorporating these into the tassels adds depth and creates a pleasant tinkling sound when moving, which is really interesting.
I've also tried combining different tassel materials, like silk with leather, or satin with sequined tassels. This mixed style is perfect for parties or music festivals when you want to stand out.
Important Notes
While the making process seems simple, some details require special attention. First is the end cap issue - it must be crimped tightly. I learned this the hard way when I lost an earring on the subway while checking my phone - the end cap wasn't tight enough and the tassel fell out.
Material selection is also crucial. Cheap faux silk tassels are notably inferior, tangling easily and lacking the natural shine of real silk. I advise not to be too budget-conscious when choosing tassels - after all, these are accessories worn next to your face, so quality matters.
Maintenance is important too. After wearing, gently shake the tassels to restore their natural state. If you find tangles, carefully comb them out with a brush. When storing, hang them up rather than rolling them to avoid deformation.
Money-Saving Tips
Honestly, DIY is super cost-effective! I calculated that materials for one pair of high-quality tassel earrings cost only $5-10. Similar styles in malls cost at least $80-100, and they might not even have the colors and styles you want.
Now when I see tassel earrings I like, my first thought is to study their structure and make them at home. This not only saves money but allows me to adjust details like tassel length and end cap style to my preference.
Making your own means having materials ready whenever you want to try a new style. Unlike buying, where you have to consider the price, you can make new ones to wear every day. I now have over twenty different pairs of tassel earrings in my jewelry box - buying all these would have cost a fortune.
Sense of Achievement
I must talk about the satisfaction of handcrafting! I remember wearing my first handmade earrings to work - my colleagues thought they were beautiful and kept asking where I bought them. When I proudly told them I made them myself, they couldn't believe it!
Later, I started receiving "orders" from colleagues wanting pairs for themselves. Gradually, our office formed a small crafting group where we share making tips and new materials. It's wonderful - not only have I made like-minded friends, but we learn and improve together.
Seeing friends happily wearing earrings I made brings an indescribable sense of achievement. Through DIY, I've gained a new understanding of accessories. What seems like simple decorations actually involve many small details to consider.
Shared Experience
After this period of exploration, I've gathered some experience. First, regarding material selection, I recommend reading reviews and choosing well-rated shops. Sometimes cheaper materials can cause various problems, making them not worth the savings.
Patience is crucial in the making process. Though quick overall, each step needs careful attention. Especially when handling tassels, making sure each thread is straight is essential for a refined look.
Experimentation is important too. You might feel nervous about making mistakes at first, but that's okay - materials are inexpensive, so you can always try again. My current skill level came from continuous practice.
Storage requires attention too - I bought a jewelry display stand to hang the earrings. This makes them easy to access and maintains the tassels' shape. Storing them flat in a jewelry box can deform the tassels.
Conclusion
Through this simple DIY project, I've gained so much joy. It's not just about saving money but also making my outfits more unique. Every time I look at the variety of tassel earrings in my jewelry box, I feel deeply satisfied. The creative process is really interesting, and each piece is unique - it's such a wonderful feeling!