
Introduction
As a new 90s mom, I deeply understand that buying toys for babies can be a significant expense. Especially for baby gyms - they easily cost hundreds of dollars, and the better brands can cost over a thousand. Recently, I've watched many parenting bloggers share DIY toy videos on Xiaohongshu and Bilibili, which inspired me to make one myself. After a week of research and practice, I finally created an amazing baby gym, and the best part is it cost less than 100 yuan! Today I'll share my DIY experience, so you can also create a unique early learning toy for your baby.
Materials Needed
Making a baby gym is actually super simple - the key is having the right materials. First, for fabric selection, I strongly recommend choosing pure cotton since babies have very delicate skin and they tend to put toys in their mouths. I bought several different patterns of pure cotton fabric on Taobao, the kind that costs 25 yuan per meter. I got half a meter each of red, yellow, and blue to make colorful little toys.
Besides the basic fabric, you'll need some tools. Scissors are essential - I recommend buying scissors specifically for cutting fabric to ensure smooth cuts. If you know how to use a sewing machine that's great, but if not, hand sewing works too - it just takes more time and patience. I also got a hot glue gun, which is very useful for securing small decorations.
For decorative items, I bought some small bells, buttons, and sequins. However, make sure these small items are sewn on very securely to prevent babies from pulling them off and putting them in their mouths. I also bought some cotton filling and pompoms to stuff the toys, making them soft and textured.
Creation Steps
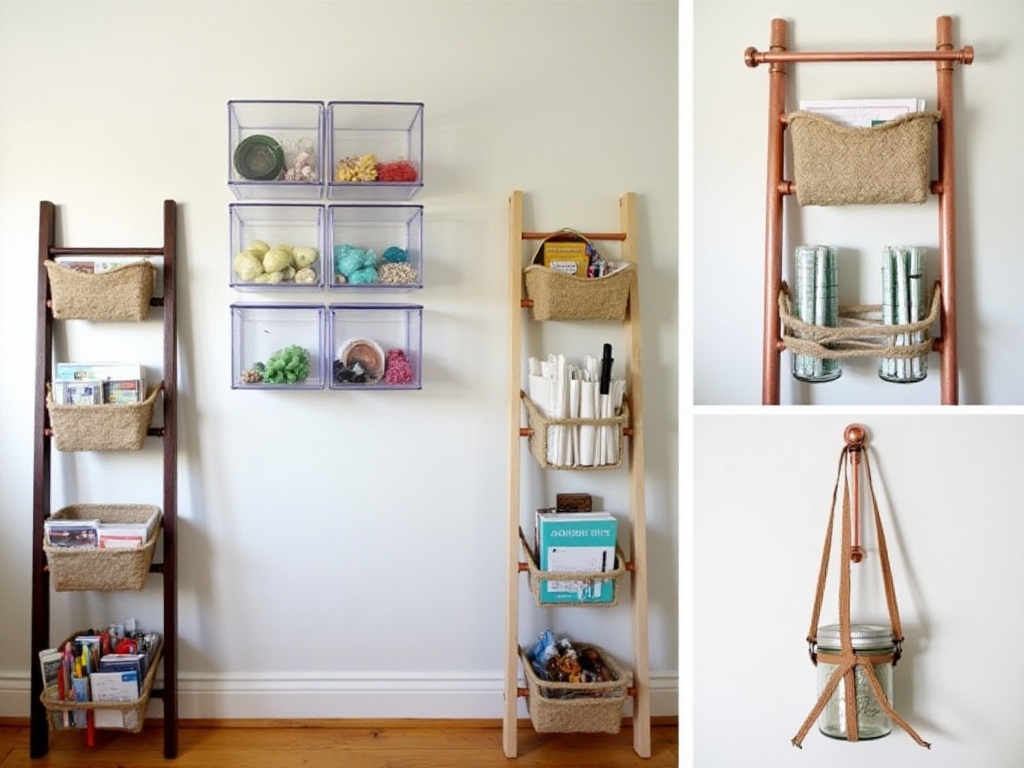
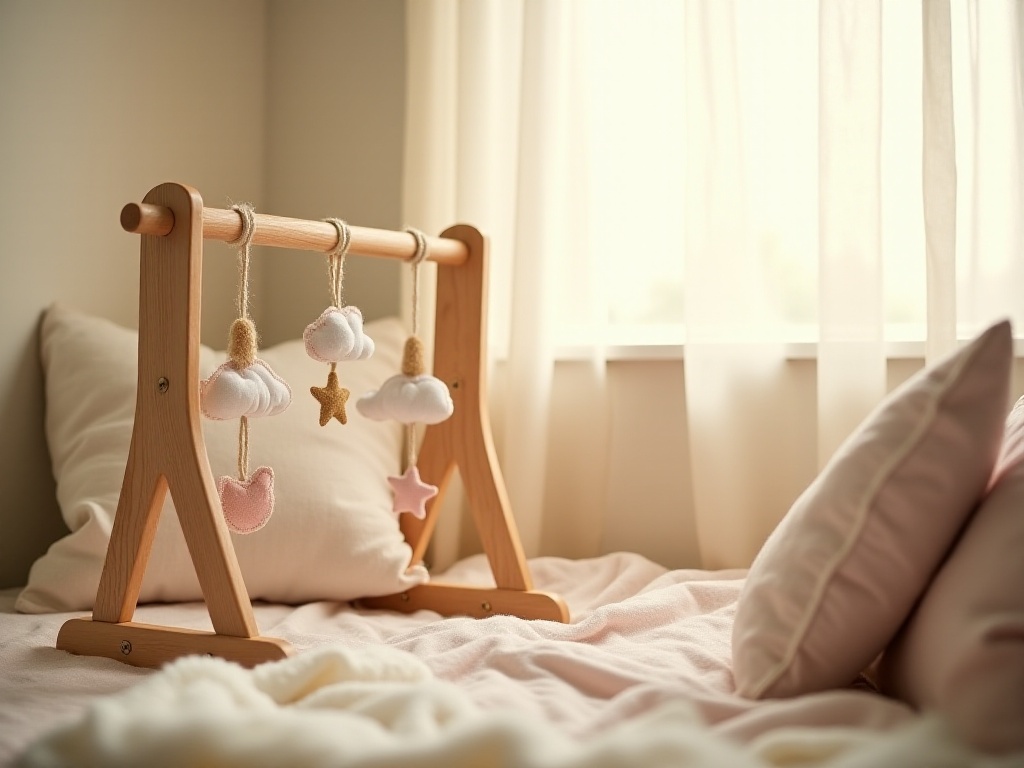
Let's start with making the frame. I bought two 80cm wooden poles from the hardware store - the owner was very nice and helped sand them down. This length is the optimal size I determined after repeated testing, as my baby is 4 months old now and loves playing while lying on their tummy. I had my husband help secure the two poles into an "A" shape using screws - make sure to use screws with nuts for extra stability.
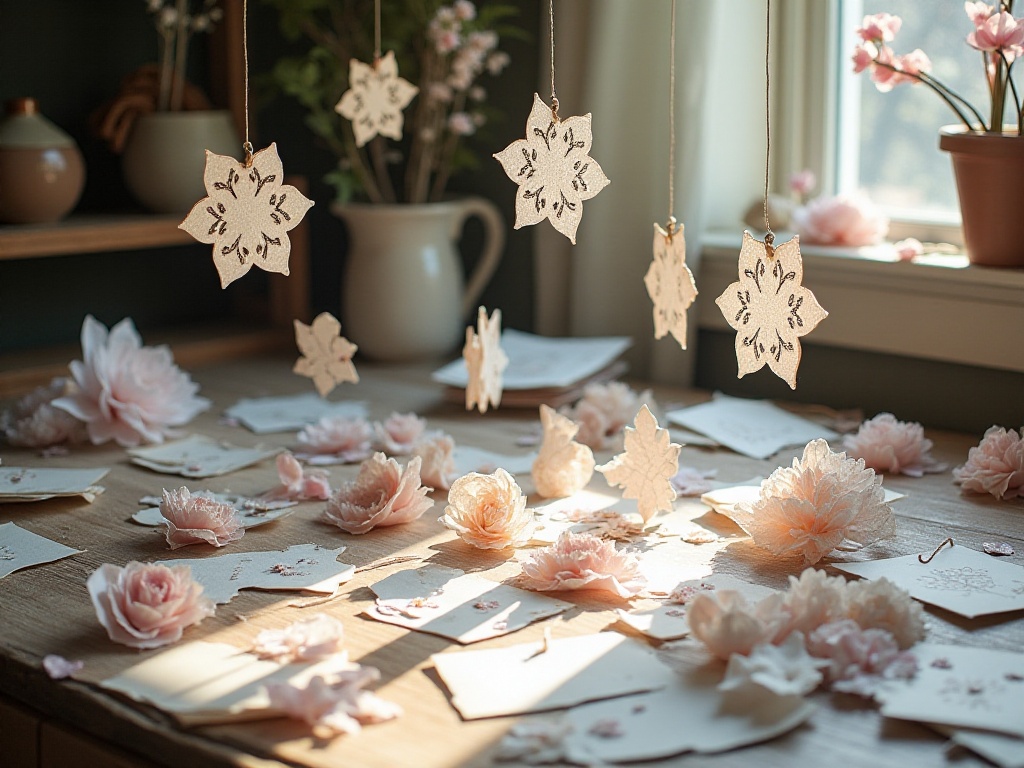
Making the toys is the most fun part. I made five different toys: a bear, a rabbit, a star, a flower, and a ball. Each toy incorporates different fun elements. For example, I put a ringing bell in the bear's belly, used two different textured fabrics for the rabbit's ears, sewed sequins on the star, made moveable petals for the flower, and added crinkly plastic paper inside the ball.
When making the bear, I first drew the pattern on paper, then cut two pieces of fabric the same size. Remember to leave a 0.5cm seam allowance to make sewing easier. I used the sewing machine to stitch the outline, leaving a small opening, then turned the fabric inside out to reveal the bear's shape. Then I stuffed it with cotton filling - make sure to stuff it fully so the bear looks round and cute. Finally, I sewed up the opening and added eyes, nose, and mouth.
The other toys follow a similar process. However, when making the star, I found that stiffer fabric works better to maintain its shape. For the flower, I deliberately left gaps between the petals so they would move when the baby touches them, making it more interesting.
After completing the toys, I hung them on the wooden poles using colored ribbons. The ribbon length is important - I made adjustable knots so I can modify the toys' height based on the baby's size. Initially, hang the toys lower so the baby can easily reach them, then gradually raise them as the baby adapts.
Usage Tips
The biggest advantage of this DIY gym is its flexibility. I adjust the toys' position and height daily based on my baby's mood. For example, in the morning when the baby is energetic, I hang the toys higher to encourage more movement; in the afternoon when they're getting sleepy, I lower the toys so they can easily grab them, which helps them settle down for sleep.
I've noticed an interesting phenomenon - babies especially love toys that move and make sounds. So I frequently change the toys' positions, putting the jingling bear in the middle one day and the moving flower the next, keeping things fresh for the baby.
Sometimes while the baby is playing, I talk about the toys' colors and shapes. Although they might not understand yet, I believe this early interaction helps with language development. I've noticed that when I talk nearby, they play more enthusiastically.
Safety Tips
Safety is paramount. First, ensure the frame's stability by checking that the screws are tight - best to check weekly. I added non-slip pads to the frame's bottom to prevent it from moving around.
Toy safety is equally important. I sewed all decorations multiple times to ensure they won't come loose no matter how much pulling occurs. I chose baby-safe materials - pure cotton fabric, eco-friendly filling, and even special baby-safe thread.
I've noticed my baby likes to put toys in their mouth, so I regularly wash each toy with warm water. I recommend developing this habit since babies have weak immune systems.
Extended Play Ideas
As my baby grows, I keep developing new ways to use this gym. For instance, I'm now sewing numbers and letters onto the toys. Although the baby can't recognize them yet, I believe this early numerical exposure will help with future learning.
I've tried adding different interactive elements to various toys. For example, adding buttons to the rabbit's ears for grasping practice, rotating centers in the flowers to develop fine motor skills, and different colored sequins on the star to stimulate visual development.
Recently, I've had new ideas about adding different sounds to each toy. Maybe bell sounds, rustling sounds, or rattling sounds, helping the baby recognize different sounds while playing.
Lessons Learned
Honestly, I encountered several challenges during my first attempt. For instance, I initially used glue for the frame, but it fell apart after two days; switching to screws solved this problem. Also, at first, I stuffed too much cotton into the toys, making them difficult to sew - it took time to find the right balance.
Choosing fabric was also a learning process. Initially, I bought sequined fabric for its appearance, but then realized it wasn't suitable for baby toys. I gradually understood that comfort and safety should be the priority for baby toys.
After using it for a while, I've found this DIY gym really practical. It's not just cost-effective but can be adjusted according to the baby's interests and developmental stages. Several moms in our community have asked me to help make these gyms, and all their babies love playing with them.
Final Thoughts
Through this DIY experience, I've realized that many expensive baby toys can be made at home with some effort. Plus, homemade toys can be customized to your baby's preferences, like their favorite colors and shapes, making them more meaningful.
While making toys, I've learned a lot about infant development. Babies at different ages have different interests, and by observing their reactions during play, we can better understand their needs. For instance, I noticed my baby loves bright colors, so I tend to choose vibrant fabrics.
Finally, I believe DIYing baby toys isn't just about saving money - it's about love and creativity. The feeling of seeing your baby happily playing with toys you made is indescribable.
If you want to make such a gym for your baby, I suggest starting simple. Even a single toy, if made with love, will surely delight your baby. After all, a mother's love shows in these little details!