
Opening Thoughts
A few days ago while cleaning my room, I discovered many idle items tucked away in corners. Some were from moving, others were gifts from friends, and some were add-ons from online shopping. Among these items were glass jars, old magazines, shipping boxes, and even leftover candle holders. They lay quietly in the corner, seemingly waiting to be given new life. Looking at these items, I had an idea: instead of letting them gather dust, why not transform them into unique home decorations? After all, with more young people renting homes these days, who doesn't want to make their space more stylish?
Creative Inspiration
Did you know? According to recent home decoration trend surveys, DIY handcrafted decorations have a 78% acceptance rate among young people in 2025. There are two main reasons behind this phenomenon: first, high-end home decorations are expensive, often costing thousands or even tens of thousands of dollars; second, young people increasingly value personalized expression in their living spaces.
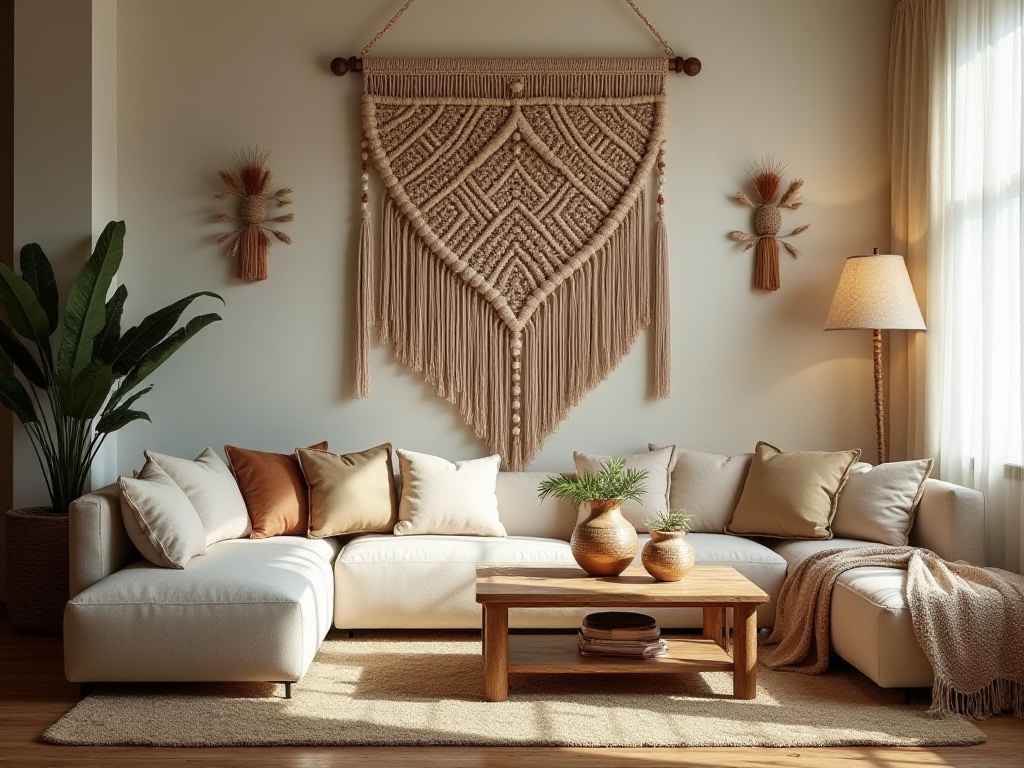
Young people today are no longer satisfied with uniform IKEA styles; they crave more personalized elements in their living spaces. I'm one of these young people seeking individuality. I remember once seeing a Nordic-style decorative vase on an e-commerce platform priced at $1,288. Though the design was indeed exquisite, the price was simply too steep for me.
This made me think: why not create something myself? I started searching for DIY tutorials on various social media platforms and was delighted to discover that ordinary items could be transformed into stunning pieces through clever modifications. For instance, a simple glass bottle with some basic decorations could become an elegant vase; a shipping box could be transformed into a beautiful jewelry box after careful packaging.
Transformation Methods
Speaking of transformation methods, I've recently tried several interesting techniques. For example, wax paper transfer technology can make ordinary glass vases look vintage and elegant. The technique is simple: first, prepare a pattern paper you like, which can be an illustration from an old magazine or a pattern downloaded and printed from the internet. Then transfer the pattern to the glass surface using wax paper, and finally fix it with special sealant spray. I remember being worried about damaging the vase the first time I tried it, but I found the technique to be very user-friendly - even someone as clumsy as me could easily handle it.
However, I also encountered many pitfalls while trying this technique. For instance, during my first attempt, the pattern became blurry because I couldn't control the amount of spray paint properly. Later I discovered that when spraying, maintaining a distance of about 30 centimeters and applying evenly back and forth produces better results. Another time, eager to see the finished product, I started using it before the sealant was completely dry, and the pattern sadly smeared. These experiences taught me that patience is the most important aspect of DIY crafts.
Of course, besides transfers, there are many other simple but stunning decorative techniques. Collage art is one of them - you only need some beautiful paper, glue, and ordinary glass items to create unique pieces of art. I particularly enjoy decorating glass bottles with Japanese-style washi tape - these tapes have beautiful patterns and good water resistance, making them both attractive and practical when applied to glass bottles.
Another technique I've recently become obsessed with is using resin. Resin casting can create various beautiful ornaments, and there are now many beginner-friendly eco-resins on the market that are both safe and easy to use. I made a small tray with resin, embedding some dried flowers in it, and the result was surprisingly good. However, when using resin, proper ventilation is crucial, and it's best to wear gloves and a mask - safety always comes first.
Practical Cases
Let me share a recent project I completed. Using an ordinary glass jar, some colored paper, and simple tools, I created an elegant aromatherapy candle holder. This glass jar was originally used for jam, but after cleaning, you couldn't tell it was secondhand. I first soaked it in warm water for half an hour to completely remove the label, then wiped it with white vinegar to ensure no adhesive remained.
Next came the most interesting part - decoration. I chose some washi tape with vintage patterns and cut them into different shapes. Some were long strips for decorating the jar mouth; others were small flower shapes to accent the jar body. While applying the washi tape, I discovered that using a toothpick to gently press down the edges made the tape adhere better and prevented lifting.
To add depth, I sprayed some areas of the jar with pearlescent paint, giving the entire piece a subtle shimmer under light. Finally, I placed a cork ring at the bottom of the jar, which not only protects the table surface but also adds to the overall refined look. The entire process took less than two hours and cost only about $30, but the finished product looks like something you'd find in a boutique store for over $200.
This candle holder sits on my desk, and whenever I light an aromatherapy candle, it fills the entire room with a cozy atmosphere. What makes me happiest is that this piece fully reflects my aesthetic and creativity - it's truly one of a kind.
Money-Saving Tips
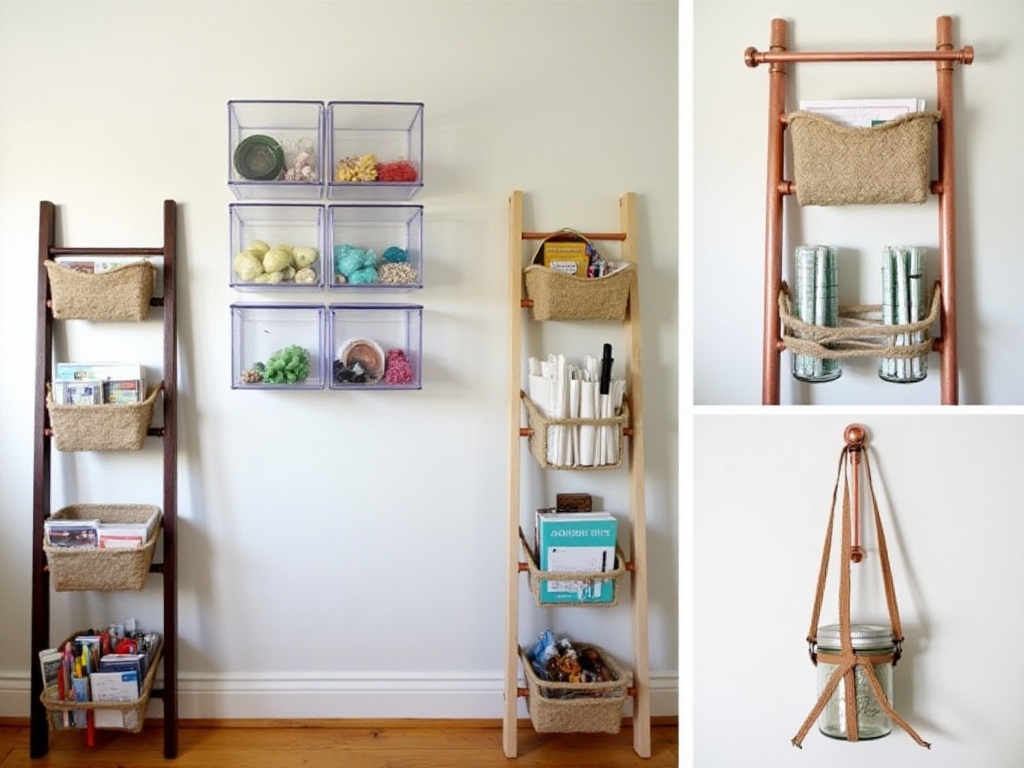
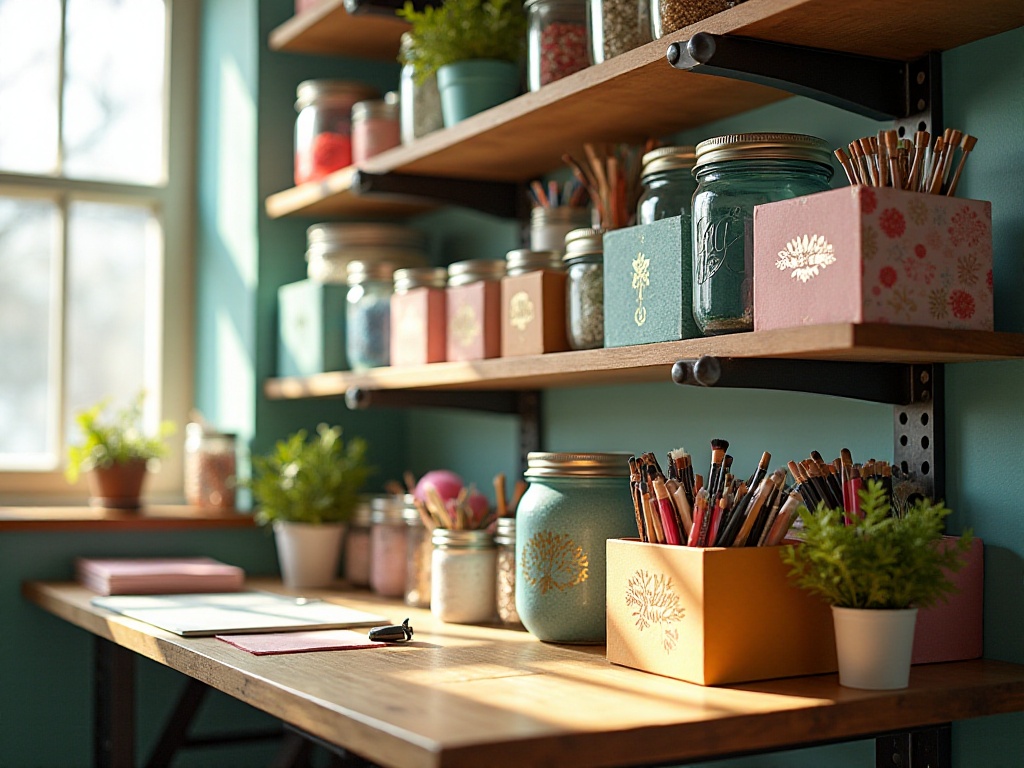
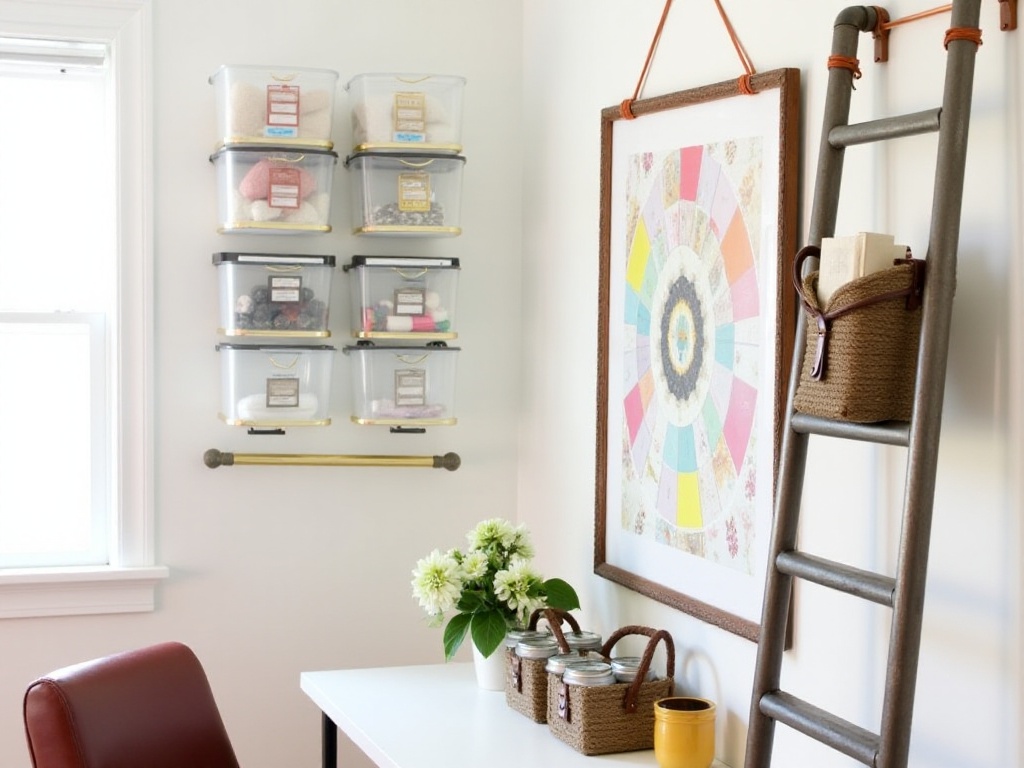
Speaking of costs, I've discovered that many materials can be found at home. Old newspapers can be used for vintage-style decorations, used glass bottles can become vases, and even shipping boxes can be transformed into storage boxes. I created a desktop organization system using shipping boxes, covered them with kraft paper, decorated them with ribbons, and they look both eco-friendly and stylish.
I have some money-saving tips for choosing materials. For example, many stationery stores heavily discount their decorative paper and tape during end-of-season clearances - this is an excellent time to stock up since these materials don't spoil. Also, the scrap material sections in art supply stores often have great finds at bargain prices.
Sometimes supermarkets can offer pleasant surprises too. For instance, choose food items in beautiful glass containers from the supermarket, and you can reuse the containers after finishing the contents. All my spices are now stored in matching glass jars, giving them a very sophisticated look. According to my calculations, this DIY approach saves at least $500 per month on decorative items.
The most economical method is making the most of what you have. Old household items often get a second life after modification. I've even started noticing discarded items on the street - sometimes you can find wooden boxes or metal racks in decent condition that, with a little modification, can become unique decorative pieces.
Important Notes
However, there are several important points to consider before starting. First is safety - when using glue or other chemical products, always work in a well-ventilated area. I once nearly choked from using strong adhesive in an enclosed space. Now I always open windows when crafting and wear a mask when necessary.
Material selection is also crucial. For instance, if you're making containers for food, you must use food-grade materials. Some decorative materials that look beautiful might contain harmful substances, so be especially careful when selecting them. I prioritize environmentally certified materials - they might be more expensive, but safety is paramount.
Tool preparation shouldn't be overlooked either. While you don't need to buy particularly expensive tools, you should have a complete set of basic tools. Items like craft knives, scissors, rulers, and glue should be of reliable quality. I once tried to save money by buying the cheapest craft knife from the supermarket, but the blade dulled quickly, ultimately wasting more money.
Also, prepare all tools in advance - running out to buy things mid-project can interrupt your creative flow. I now keep all my commonly used tools in a toolbox, ready to grab whenever needed. Finally, patience is key, as good pieces often require multiple adjustments to complete.
Workspace preparation is also important. I cover my work surface with old newspapers or a waterproof mat, making it easier to clean up any paint or glue spills. Also, ensure the work area has good lighting for better control of details.
Practical Advice
I suggest starting with the simplest projects. For example, transforming a tissue box into a storage holder only takes 20 minutes. Here's how: position the tissue box opening upward, use a craft knife to neaten the opening, then wrap the exterior with kraft paper, and finally add some simple decorative elements. This creates a minimalist-style desktop storage box.
When trying new projects, it's advisable to search for related tutorials online to see how others have done it. This helps avoid common mistakes and teaches useful techniques. However, don't completely copy others' work - add your own creative touches to the basic design.
Many people think they're not creative enough, but creativity exists in everyday life. You can start with color combinations you like or begin with a particular pattern. I especially love Japanese-style elements, so many of my pieces incorporate this style.
After mastering basic techniques, try more complex projects. This builds confidence while gradually improving crafting skills. For example, you might try making a multi-functional storage rack, which requires combining cutting, bonding, decorating, and other skills.
Documentation is also important. I photograph each DIY process, including materials used, specific steps, problems encountered, and solutions found. This helps avoid repeating mistakes in similar future projects. Plus, these photos serve as evidence of progress.
Results Showcase
I photograph each completed piece. When I first started, my work was indeed rough, sometimes even unsightly. I remember my first storage box had crooked edges and messy decorations. But I didn't get discouraged - instead, I kept practicing and improving.
Looking at my recent work, there's been significant improvement in both craftsmanship and design. For example, I recently completed a jewelry display stand using an old picture frame and some wooden strips. The piece has smooth lines and elegant styling - you can't tell it's made from repurposed items. On my dressing table, it's both practical and decorative.
Seeing my work progress from rough to refined brings a great sense of achievement. Did you know? According to psychological research, DIY creation significantly increases happiness by activating the brain's reward mechanism. Indeed, completing each piece brings me special joy, particularly when it perfectly integrates into my living space.
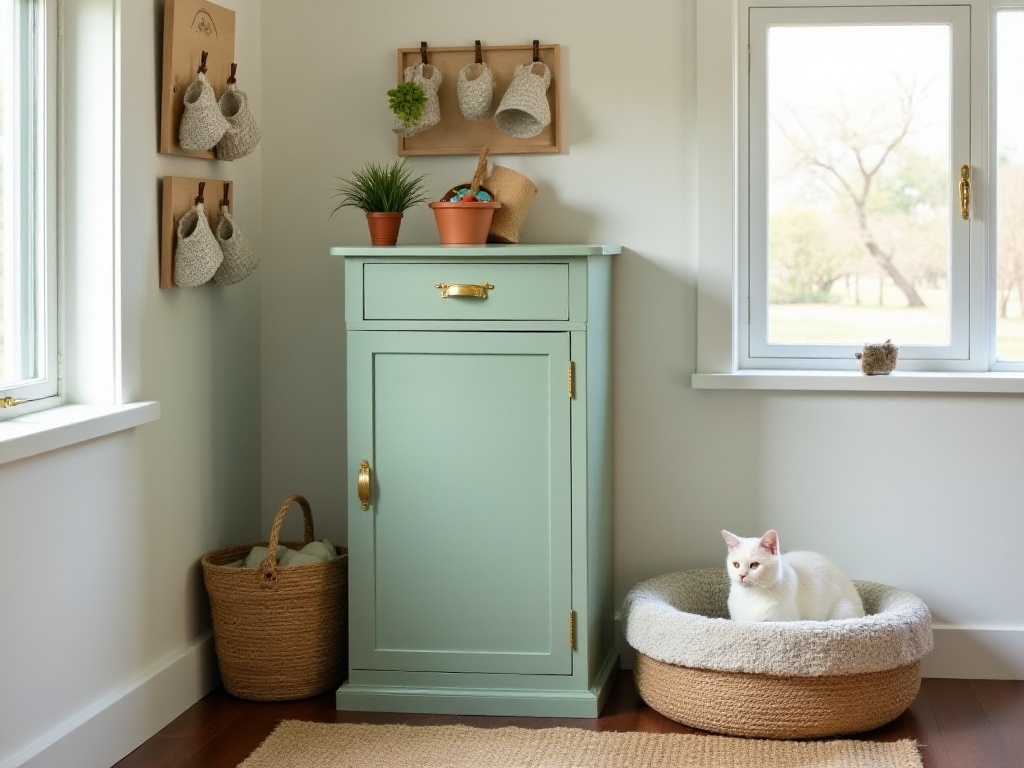
My room now showcases my handmade pieces everywhere. There's my modified lamp on the desk, my handmade photo wall, and even the flower pots on the windowsill are decorated by me. Each piece carries my intentions and creativity, turning this rented space into a true home.
Experience Summary
Through this period of practice, I've summarized three key experiences: First, don't pursue perfection in one go - allow for failure and starting over. I remember my first attempt at spray painting was particularly bad due to inexperience. But instead of getting discouraged, I patiently cleaned off the failed attempt and started again. After several tries, I finally mastered the correct technique.
Second, make good use of available materials - creativity often comes from daily life. Sometimes an unremarkable item can become a unique decoration through recombination or modification. For example, I created a minimalist vase using discarded glass bottles and wire. This vase is now a focal point in my living room, and guests always ask where I bought it.
Third, maintain patience and focus to create refined pieces. DIY crafting isn't fast food - it requires time and thought. Sometimes a small detail needs repeated adjustment to achieve the desired effect. But it's this pursuit of detail that makes the work look more professional.
Additionally, I've found keeping the work area clean is important. Before each creation, I arrange tools and materials by category for better efficiency. After creation, prompt cleaning and organization make the next use more convenient.
Conclusion and Future Outlook
Now, whenever friends visit, they're attracted by these unique decorations. They always ask in surprise: "Did you make all these yourself?" Seeing their envious looks, I proudly nod. Some friends have even started learning DIY from me, and we often exchange crafting tips and share discoveries about new materials and techniques.
The joy of DIY isn't just about saving money - it's about the creative process. When you watch an ordinary item gradually become art in your hands, that sense of achievement is irreplaceable. Moreover, these handmade decorations carry unique personality, making home warmer and more story-filled.
With rising environmental awareness, more young people are focusing on sustainable lifestyles. DIY home decoration not only gives old items new life but also reduces unnecessary consumption - it's both environmentally friendly and fashionable.
If you want to try DIY home decoration, why not start today? Begin with simple projects like decorating a glass bottle or transforming a storage box. Remember, everyone is a life artist - the key is taking the first step. When you create your own pieces, remember to share your creative experiences with me.
I believe through continuous trying and practice, you too can create distinctive home decorations. Let's use our hands to decorate life together, making home warmer and more charming. After all, the most beautiful home decorations aren't about price - they're about the heart and creativity invested in them.